

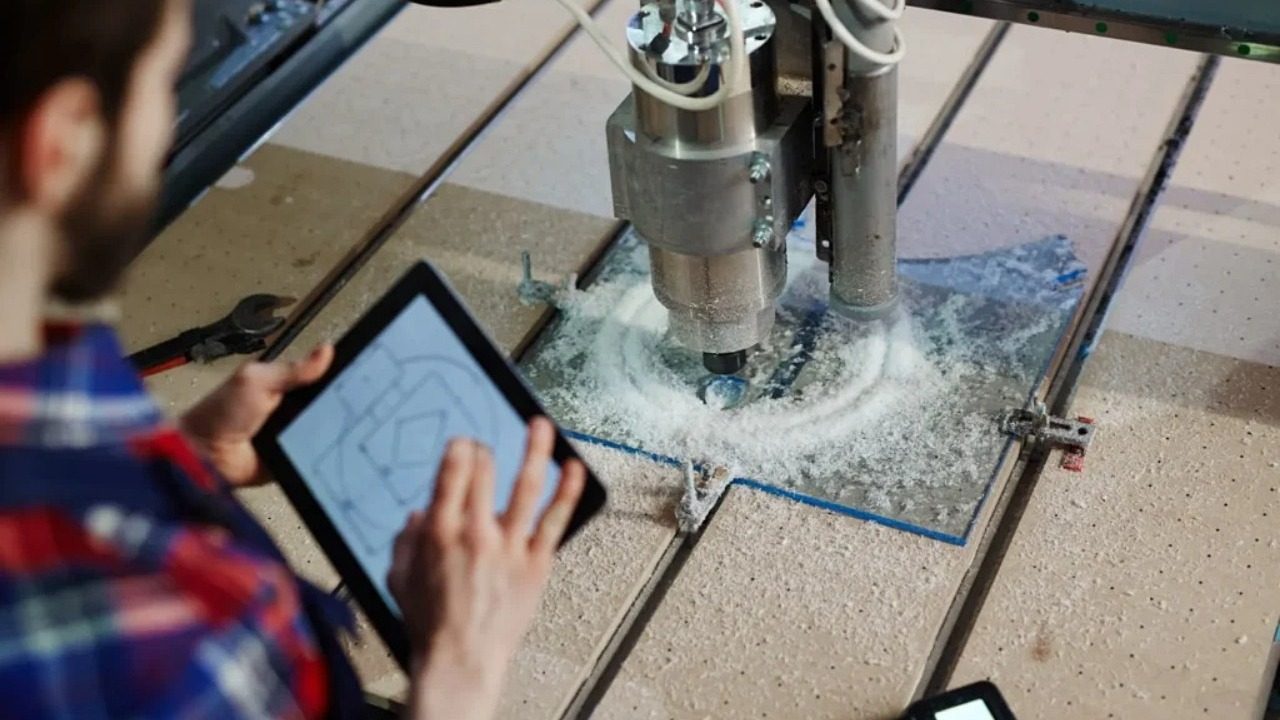
Building software is one thing. Building the physical hardware that software runs on is a different discipline entirely, one that fewer tech teams understand well. As more startups move into connected devices, consumer electronics, and industrial hardware, the gap between digital design and physical manufacturing has become a genuine operational challenge. Getting it wrong in the first prototype cycle is expensive; getting it right requires understanding what manufacturing actually involves before you commit to a design.
The same culture of iteration that works in software development transfers surprisingly well to hardware. Short feedback loops, rapid prototyping, tolerance for early failure, investing in the right tooling upfront: these habits all apply. What changes is the medium. Instead of pushing commits to a repository, you’re ordering machined components and inspecting tolerances under a caliper. The tools and vocabulary are different, but the underlying logic is not. Teams that understand this adjust faster, spend less time at the back end of the development cycle, and ship products that actually hold together.
Getting Oriented: What CNC Machining Actually Involves
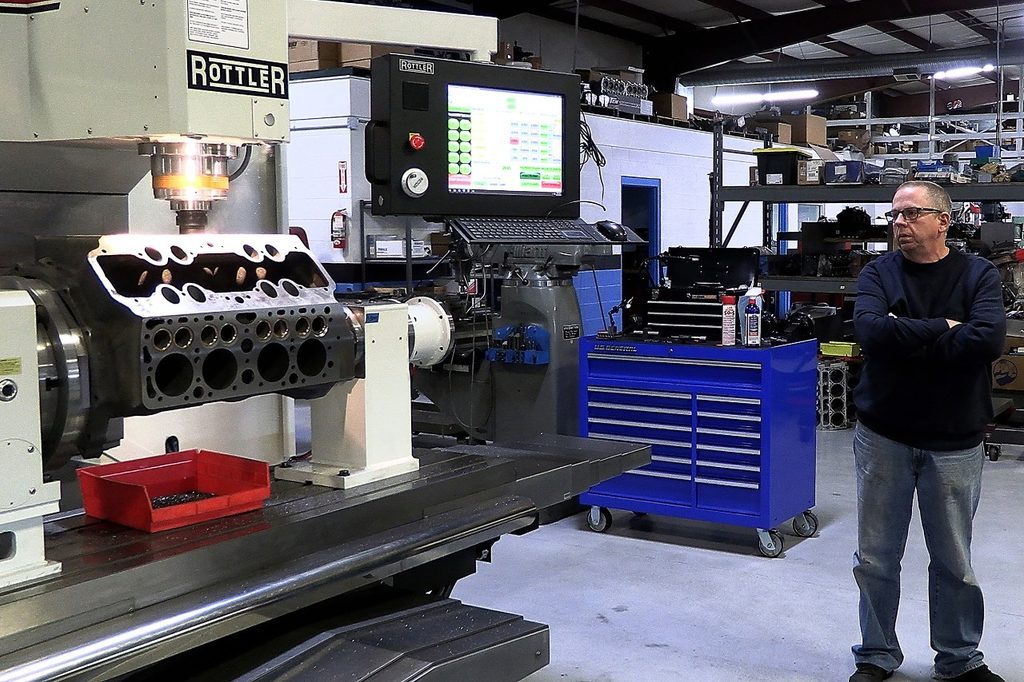
Most software engineers know the phrase “CNC machining” without knowing much about it in practice. CNC stands for Computer Numerical Control; the machine reads a digital file and uses rotating cutting tools to remove material from a workpiece with a high degree of precision. Unlike injection molding, which requires expensive tooling upfront, a CNC machining service can produce functional parts directly from CAD files in a matter of days. That speed is exactly what hardware teams need during early development phases, when design changes happen weekly.
The range of materials these machines handle is broader than most people expect: aluminum alloys, stainless steel, titanium, PEEK plastic, polycarbonate, brass, and dozens of specialty alloys. For a startup building sensor housings, brackets, or enclosures, this flexibility means you’re not locked into a single material choice before you’ve tested your design under real conditions. Tolerances in the range of +/-0.005 inches are standard for most suppliers, and tighter tolerances are achievable when the design requires them. A part that would take weeks to source from a specialty vendor can often be machined locally in two or three days.
Why CNC Milling Remains the Default for Structural Components
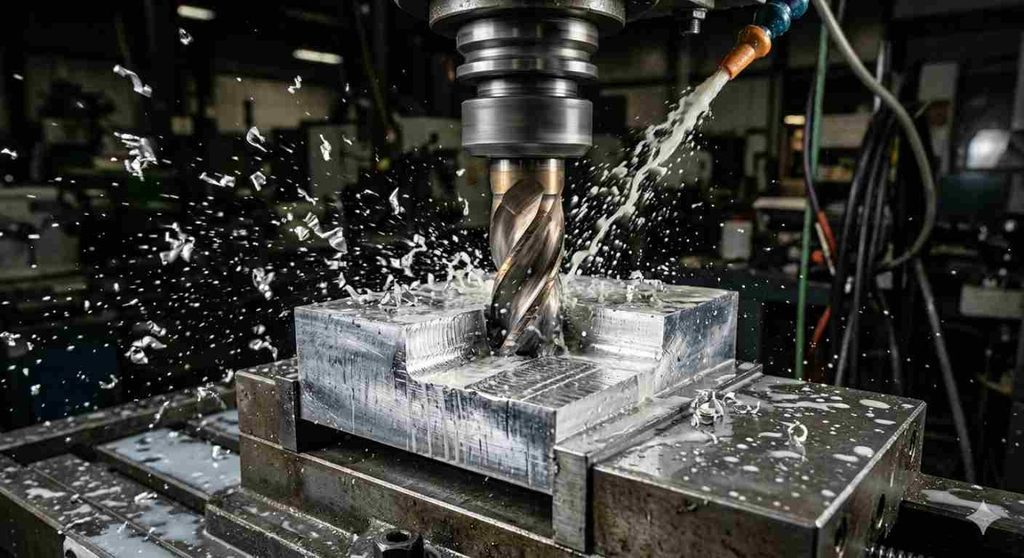
Among the various CNC operations, CNC milling stands out as the most versatile for producing structural hardware parts. A milling machine moves a rotating cutter across the workpiece surface along multiple axes, typically three, though five-axis machines handle complex geometries that would otherwise require multiple setups. For parts like motor mounts, heatsinks, panel brackets, and chassis components, milling produces results that casting or 3D printing generally can’t match in terms of surface finish and dimensional accuracy.
One underappreciated advantage of milling is the quality of the surface it leaves on aluminum and steel. A machined surface has a predictable finish that can be anodized, powder-coated, or left bare depending on the application. This matters more than teams realize when the part needs to mate cleanly with PCBs, seals, or other precision assemblies. According to NIST research on machining accuracy, thermal variation during machining is one of the primary sources of dimensional error, a point worth discussing with any supplier running tight-tolerance work. The better shops monitor spindle and ambient temperature throughout long production runs.
How to Read a Quote and Avoid Common Cost Traps
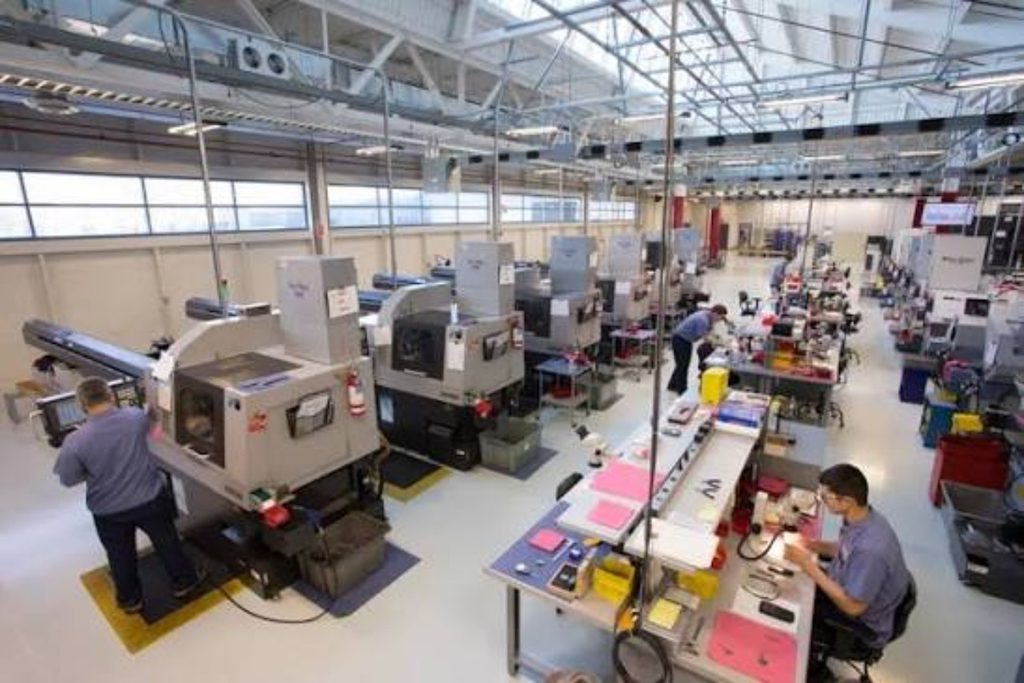
CNC machining quotes are driven by a handful of factors, and understanding them prevents the surprise invoices that derail early hardware budgets. Machine time is the big one: the more passes the tool needs to make, and the tighter the tolerances on those passes, the longer the part takes to cut. Setup time also matters; a complex part requiring multiple fixturing positions can cost more in setup than in actual cutting time. A quote that looks low but hides setup fees can end up costing more than a higher-priced but all-in quote.
The three most common cost traps are unnecessarily tight tolerances, deep blind holes, and sharp internal corners. Most mechanical fits don’t actually require the tightest tolerances a machine can achieve; defaulting to +/-0.001 inches when +/-0.005 would work fine adds time and cost without adding function. Internal corners are inherently rounded by the cutter diameter, so designing for sharp corners at the bottom of a pocket forces the supplier to use a smaller tool and more passes. Communicating actual functional requirements rather than specifying maximum achievable tolerances is one of the most effective adjustments a hardware engineer can make early in a project.
Choosing a Supplier When You Don’t Have a Procurement Team

Most tech startups don’t have a dedicated procurement function during early hardware stages, which means engineers end up evaluating suppliers on their own. The first filter is lead time for the quantity you need. Some shops specialize in high-volume production runs and are slow or expensive for ten-piece prototype orders; others run specifically as prototype houses and can turn parts in two or three business days. Knowing which category a supplier falls into before you send a quote request saves a week of back-and-forth.
Certification matters for some applications but not others. ISO 9001 signals a shop with documented quality management processes, which matters if your hardware will end up in a regulated industry like medical devices or aerospace. For consumer electronics or general-purpose enclosures, familiarity with your materials and finish requirements tends to matter more. Asking for a reference part before placing a full order — a sample machined from your target material to your tolerances — is a reasonable request at any competent supplier. Most shops that are confident in their work will agree immediately, and it reveals more about actual capability than any spec sheet.
Integrating Machined Parts Into a Development Workflow That Actually Works
The biggest mistake hardware teams make is treating machined parts as a waterfall deliverable: finalize the design, place an order, wait two weeks, and hope it fits. Software teams know better than this in their own domain, but the habits don’t always transfer. A better approach is to build machining cycles into your sprint structure, with each cycle producing one or two key parts to validate a specific interface or mechanical behavior.
The OSHA interpretation letter on CNC machine guarding standards is a useful read if your team ever visits a machine shop during the build process; understanding the production environment helps you write better manufacturability notes in your CAD files. Suppliers appreciate customers who understand basic shop constraints, and it usually results in faster turnaround and fewer back-and-forth questions. Setting up a simple design-for-manufacturability checklist before the first order goes out saves real time across every subsequent revision cycle. The hardware teams that move fastest are the ones that minimize design-to-feedback time, not the ones with the biggest prototyping budgets.