


Scars tell a story, but most people want them to fade. Good news. You can influence how a scar heals with simple steps and the right treatments at the right time. The goal is clear skin that blends in, feels comfortable, and does not distract from daily life. Care starts early, then continues with proven methods that guide collagen into neat, flat lines instead of thick, raised bands.
Patients often ask for a reliable plan they can trust. Lumine Dermatology Clinic often outlines a practical sequence that starts at home and scales to clinic care as needed. If you came here searching for How to Minimize Scarring, you will find a clear path below. Each section offers actions you can use today, plus options for tougher scars.
Start Strong in the First Two Weeks
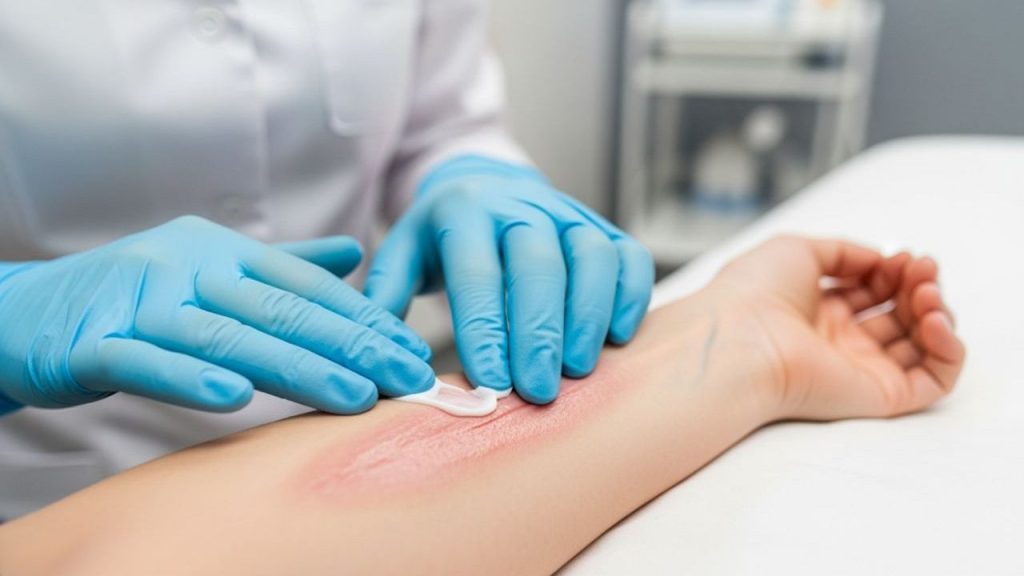
Early care shapes the final scar. Clean a fresh wound with cool tap water or saline. Skip harsh cleansers and hydrogen peroxide. They irritate skin and slow repair. Apply a thin film of plain petrolatum. It keeps the wound moist so new skin cells can close the gap faster. Cover with a clean, nonstick dressing. Change it daily or when it gets wet.
Reduce tension on the healing line. Paper tape or silicone tape along the incision edge limits pull from movement. Less pull often means a finer scar. Do not pick scabs. Picking pulls on fragile collagen and can create wider, uneven edges. If stitches are present, follow removal timing exactly. Too late can leave marks. Too early can open the wound.
Protect the area from the sun from day one. UV turns fresh scars darker and redder. Use a broad-spectrum SPF 50 once the surface closes. Add a hat or UPF clothing if the scar sits on the face, chest, or shoulders. Support healing from the inside. Eat enough protein, fruits, and vegetables. Stay well hydrated. Avoid smoking and vaping. Nicotine cuts blood flow and slows repair.
Evidence-Backed Home Treatments
Silicone leads the home care list. Gels and sheets flatten and soften scars by reducing water loss from the surface. They also modulate signals that control collagen. Start silicone once the skin surface closes. Aim for at least 12 hours per day. Many people see changes after 6 to 8 weeks, with better results over 3 to 6 months. If a sheet lifts, trim it to fit. If skin gets moist, switch to a gel for better airflow.
Gentle massage can help a firm, tight scar. Wait until the wound seals and any scabs fall off on their own. Then use a bland moisturizer and small circular motions for 5 minutes, two to three times a day. Massage improves flexibility, breaks tiny adhesions, and reduces itch. Do not press hard enough to cause pain or redness that lasts more than an hour.
Be selective with creams. Vitamin E often irritates skin and can worsen the look of a scar. Onion extract shows mixed results. If you try it, stop if redness or stinging appears. Choose fragrance-free moisturizers to limit irritation. For burn or ear-piercing scars that tend to thicken, pressure therapy helps. Special garments or pressure earrings apply steady force that discourages excess collagen.
Clinic Treatments That Move the Needle

Not every scar improves with home care alone. Raised, itchy, or painful scars respond well to in-office therapy. Corticosteroid injections soften thick collagen and lower redness. Many clinicians pair steroids with 5-fluorouracil for stronger flattening. Sessions often occur every 4 to 6 weeks until the scar calms. Small keloids on the ear or chest may also benefit from cryotherapy to shrink bulk before injections.
Lasers offer targeted results. Pulsed dye lasers reduce redness by shrinking extra vessels that feed a fresh scar. Fractional lasers, such as fractional CO₂ or erbium, remodel texture and smooth edges. They create microscopic columns that trigger orderly collagen. Expect a series of treatments for the best outcome. Downtime varies from mild pinkness to a few days of crusting, depending on device and settings.
Indented scars need structural help. Microneedling improves shallow acne marks by prompting new collagen in the right places. Radiofrequency microneedling adds heat for greater lift in ice pick or boxcar scars. Subcision releases deep tethers that pull an atrophic scar inward. A filler placed under the release point can hold the lift while collagen matures. Some narrow acne scars need punch excision or a focal TCA CROSS technique. An experienced dermatologist can map the right mix.
Match the Plan to the Scar Type
All scars are not the same. Line scars from surgery often do well with taping, silicone, and early vascular laser to calm redness. Continue tape for 8 to 12 weeks along high-movement areas like the shoulder or knee. Those zones stretch easily. Consistent support keeps the line fine.
Acne scars require a blend. Rolling scars improve with subcision and collagen-stimulating procedures. Boxcar and ice pick scars may need focal excision, TCA CROSS, or fractional resurfacing. Spreading the work over sessions prevents overtreatment and lets skin rebuild safely. Add nightly retinoids once healed to refine texture and boost cell turnover. Pair with sunscreen every morning to prevent post-inflammatory color changes.
People with a history of keloids need extra prevention. Tell your dermatologist before elective procedures or piercings. Pressure earrings after ear piercing, early silicone, and prompt steroid injections at the first sign of thickening can stop a keloid from growing. For burn scars or contractures near joints, combine pressure therapy, massage, and supervised stretching to protect range of motion.
Daily Habits That Protect Healing Skin

Sun care makes a visible difference. Use a broad-spectrum SPF 50 on healing areas each morning and reapply every two hours if outdoors. Add a wide-brim hat and clothing with a UPF label. UV exposure darkens scars and slows fading. Consistent protection helps the scar blend with nearby skin.
Keep the skin barrier happy. Choose bland moisturizers with ceramides or petrolatum to reduce itch and tightness. Avoid gritty scrubs and strong acids on young scars until your clinician gives the green light. Sleep enough, manage stress, and move your body. Good circulation and steady hormones support balanced collagen. Aim for protein with each meal, plus vitamin C-rich produce. Consider zinc only if a clinician confirms deficiency.
Watch friction and repeated stretch. Backpacks, bra straps, and sports gear can rub and inflame a scar. Use soft pads or silicone under straps. If a scar crosses a joint, warm up before exercise and cool down with gentle range-of-motion work. Small adjustments protect months of progress.
Myths, Mistakes, and When to Seek Help
Several myths linger. Tanning does not hide a scar. It makes contrast worse, since scars do not tan like normal skin. Lemon juice and toothpaste irritate and can trigger extra pigment. Aggressive exfoliation does not “sand down” a scar at home. It strips the barrier and invites redness. Quick fixes online often disappoint. Steady, boring routines win.
Common mistakes include stopping silicone too soon, skipping sunscreen on cloudy days, and scrubbing at flakes. Another trap is hopping between products every few days. Collagen needs time and consistent signals. Give a method at least 6 to 8 weeks before judging results, unless irritation shows up. At the first sign of raised edges, heat, or ongoing pain, call a professional. Early action saves time.
Know when specialist care matters. Seek a dermatologist if a scar turns thick, itchy, or extends beyond the original wound. Get help if a scar crosses a joint and limits motion, sits on the eyelid or lip, or shows persistent redness after three months. Ask for a plan if acne scars affect confidence. Most scars continue to remodel for 12 to 18 months. With the right steps, you can guide that process and see a smoother, softer finish.